Predator FLM™ Software Installation

Download style Installation for Predator FLM
Step through the following process to install Predator FLM software via download:
- Request a license and obtain the ZIP password
- Logon to Windows at the PC or use RDP via mstsc.exe /admin
- Download the latest version of Predator FLM
- The download may take a minute to complete
- Within your browser, click on pflm11.exe, select Show in Folder and a Windows Explorer window will appear
- Shift+Right Click on pflm11.exe and select Run as administrator
- If a UAC prompt asks, Do you want to allow this app to make changes to your device? Select Yes
- Optionally specify Windows administrator credentials and click Ok
- When prompted for a ZIP password, type it in and click Ok to start the installation
- Step through the installation screens until it is finished and a Predator FLM icon appears in the desktop
- Copy the PFLM Service.License file sent via email
- To the following folder c:\program files (x86)\predator software\FLM 11.0\
- Shift+Right Click on the blue Predator FLM Service Manager desktop icon and select Run as administrator
- If a UAC prompt asks, Do you want to allow this app to make changes to your device? Select Yes
- Optionally specify Windows administrator credentials and click Ok
- The Predator FLM Manager application will start
- Click the Upgrade button to display the upgrade and license registration dialog
- Type your name and company, do not leave these fields blank
- Copy & paste the serial number and access code from the Predator License Report PDF
- Select Network Card, USB or Unknown (for remote USB via RDP) from the license type pulldown
- Click the Ok button to save the license registration details
- Click the Start Service button and the Predator FLM Service will begin
- Click the Red X in the upper right hand corner to close the Predator FLM Manager
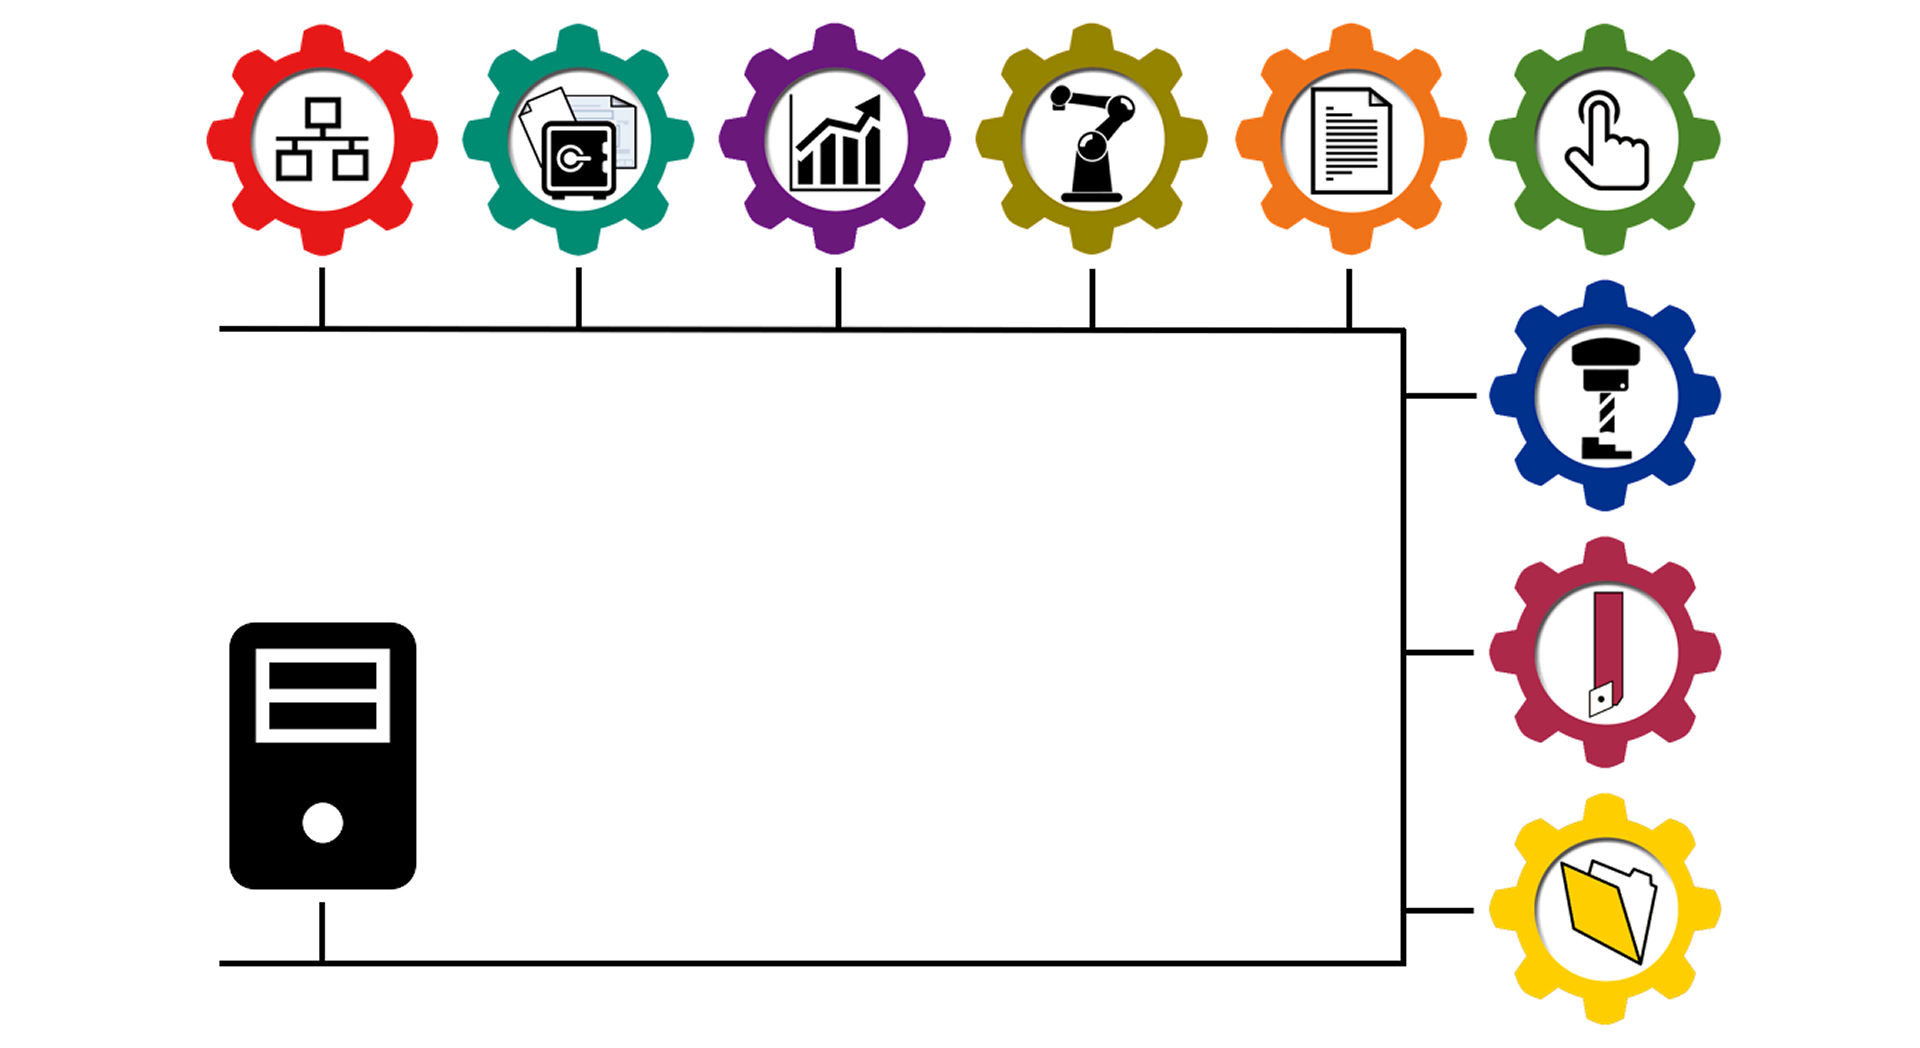
- Login to one or more client PC(s) and continue with individual installations for one or more of the following: Predator CNC Editor, DNC, MDC, PDM, RCM, Tracker, Travelers or Virtual CNC
NOTE: If installing on a Windows Server OS, uncheck the optional Microsoft .Net Framework package and enable .Net 3.5 as a Windows feature. If installing on a 32bit Windows OS, uncheck the Optional Microsoft OLE DB driver for SQL Server - 64bit.
NOTE: If a previous version of Predator FLM is already installed, make a backup of your data and Uninstall prior to stepping through the above process. Should a licensing error be displayed, review the Licensing self help support page. Should install errors occur during the installation, close all open applications other than this browser window and repeat the installation.
DVD style Installation for Predator FLM
Step through the following process to install Predator FLM software via DVD:
- Logon to Windows at the PC or use RDP via mstsc.exe /admin
- Insert the Predator DVD into your PC's DVD drive
- When Windows Autorun is enabled, the Predator DVD window will appear
- Click Install Predator FLM and skip ahead to step 7
- When Windows Autorun is disabled, run Windows Explorer and select the DVD drive
- Shift+Right Click on SetupFLM.exe and select Run as administrator
- If a UAC prompt asks, Do you want to allow this app to make changes to your device? Select Yes
- Optionally specify Windows administrator credentials and click Ok
- Step through the installation screens until it is finished and a Predator FLM icon appears in the desktop
- Copy the PFLM Service.License file sent via email
- To the following folder c:\program files (x86)\predator software\FLM 11.0\
- Shift+Right Click on the blue Predator FLM Service Manager desktop icon and select Run as administrator
- If a UAC prompt asks, Do you want to allow this app to make changes to your device? Select Yes
- Optionally specify Windows administrator credentials and click Ok
- The Predator FLM Manager application will start
- Click the Upgrade button to display the upgrade and license registration dialog
- Type your name and company, do not leave these fields blank
- Type the serial number and access code provided on the sticker within the DVD packaging
- Select Network Card, USB or Unknown (for remote USB via RDP) from the license type pulldown
- Click the Ok button to save the license registration details
- Click the Start Service button and the Predator FLM Service will begin
- Click the Red X in the upper right hand corner to close the Predator FLM Manager
- Login to one or more client PC(s) and continue with individual installations for one or more of the following: Predator CNC Editor, DNC, MDC, PDM, RCM, Tracker, Travelers or Virtual CNC
NOTE: If installing on a Windows Server OS, uncheck the optional Microsoft .Net Framework package and enable .Net 3.5 as a Windows feature. If installing on a 32bit Windows OS, uncheck the Optional Microsoft OLE DB driver for SQL Server - 64bit.
NOTE: If a previous version of Predator FLM is already installed, make a backup of your data and Uninstall prior to stepping through the above process. Should a licensing error be displayed, review the Licensing self help support page. Should install errors occur during the installation, close all open applications other than this browser window and repeat the installation.
More Self Help Articles
100+ Self Help Articles covering a wide range of technical details, references and processes are available on this web site to help support and troubleshoot Predator application issues.
